How to Create Boolean Variables in Figma for Prototypes
Build a checkbox that reveals a note, switches the preview and returns to a clear starting state for the next prototype test.
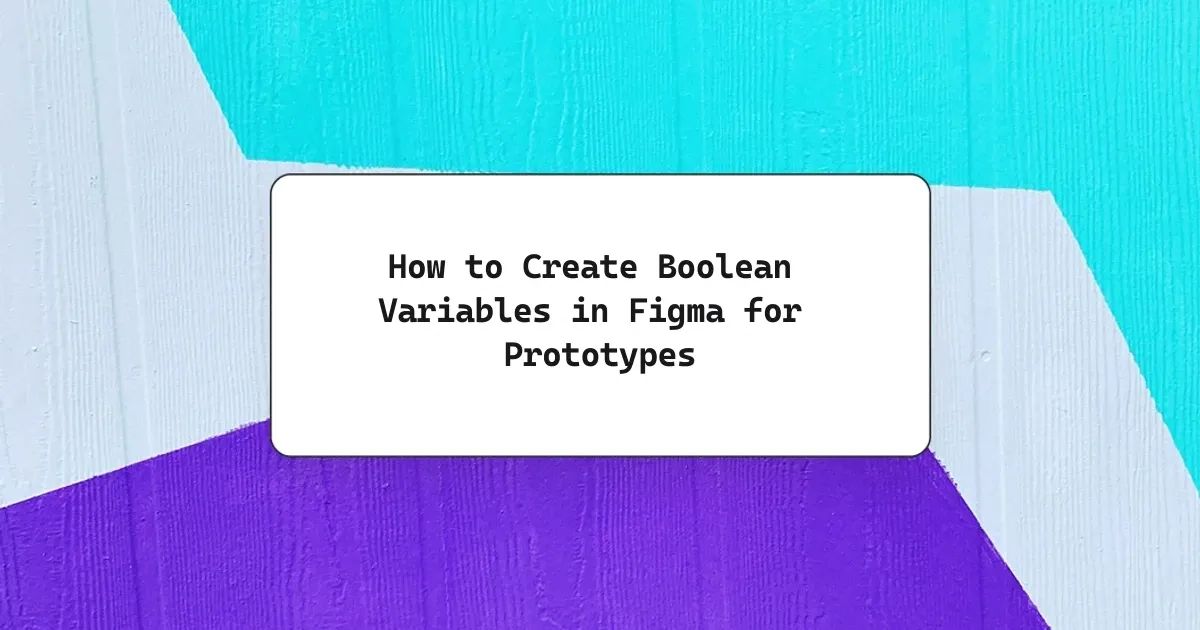
Create a local Boolean with a false starting value. Bind it to the checkmark and note, update it with Set variable, and use a Conditional action to choose the preview. Check both paths and add an explicit reset for the next trial.
To create a boolean variable in Figma, open Variables, add a Boolean to a local collection, and give it a true or false starting value. Bind it to a visible result, then add a Set variable action that changes it in the prototype. If Continue should lead to different outcomes, add a Conditional action that reads the same variable. Test both directions: one click should change the result, and another should undo it.
This walkthrough uses a fictional Fieldnote export flow. A checkbox labeled “Include archived items” reveals a short note and determines which preview the user sees. Nothing is exported. The exercise tests whether people understand the scope of the export before they commit. The useful result is a prototype that can answer that question without maintaining a separate copy of the settings screen for each checkbox state.
Check access before you build: Figma’s prototype variables guide lists Professional, Education, Organization, Government and Enterprise plans and requires edit access. If the action is unavailable in your file, you can still test the wording with separate linked frames. Label that fallback clearly in the file so a reviewer does not spend time searching for a variable binding that does not exist.
Create a boolean variable in Figma
Start with one settings frame and two destination frames: Preview current items and Preview all items. Inside the settings frame, create a checkbox row, a note that says “Archived items will appear in the preview,” and a Continue button. Keep Continue available in both states because either scope is valid. This is an optional preference, so the unchecked path should have a useful outcome of its own.
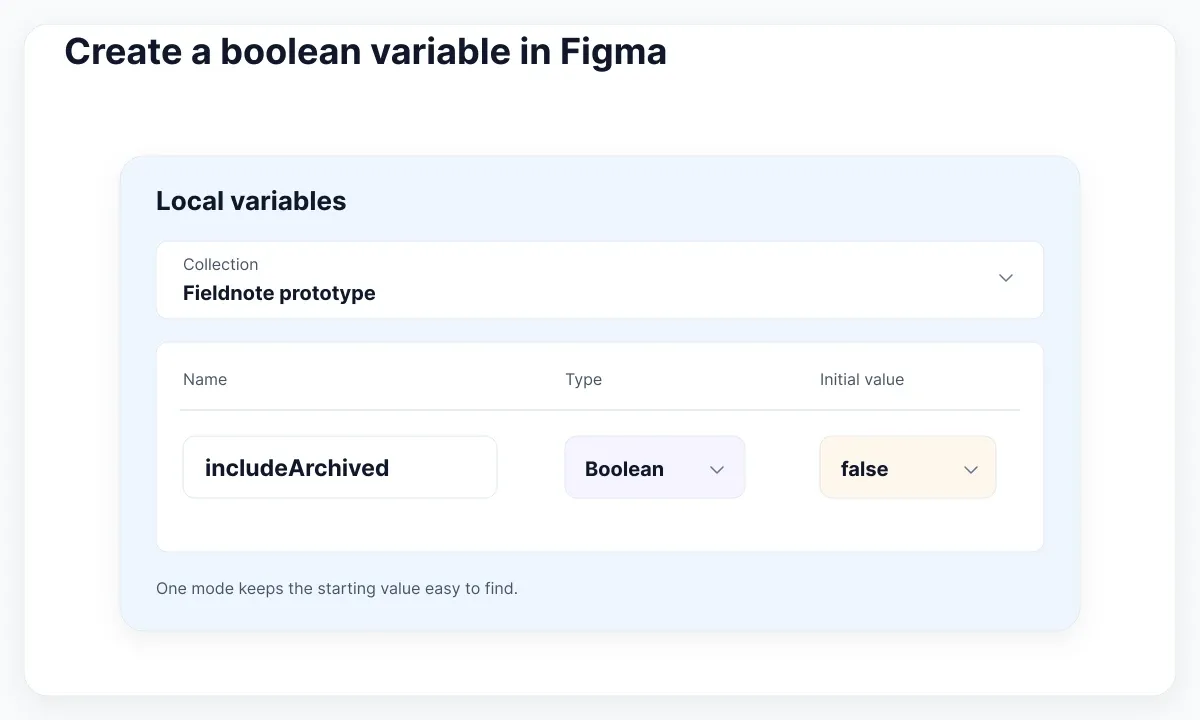
Follow Figma’s guide to creating variables and collections to create a local collection called Fieldnote prototype and add a Boolean called includeArchived. Set its initial value to false. Use a single mode for this exercise so you can inspect one starting value. The name describes the choice rather than a side effect. A name like showNote makes sense until a second consumer reads the variable to decide which records to display. The choice stays the same even if the note is removed in a later review.
Before wiring any actions, write the two outcomes in the frame description or on a nearby annotation. False means an empty checkbox, no note and a preview limited to current items. True means a checked box, the note and a preview that includes archived items. Use unmistakable sample data. For instance, show two current rows in both previews and one row labeled Archived only in the expanded one. A heading change alone can hide a wrong branch during review.
Bind the checkbox and the note
For the smallest reproducible version, draw a checkbox outline with a separate checkmark layer. Give the checkbox row a stable hit area that stays present in both states. Bind the checkmark visibility and the whole note group to includeArchived. Bind the note’s container rather than just its text, so the background and icon follow it as well. Figma describes the design bindings and shows a boolean visibility example in a prototype. Select the actual checkmark or note group when applying the variable; binding the entire row would hide the control you need to change the value back.
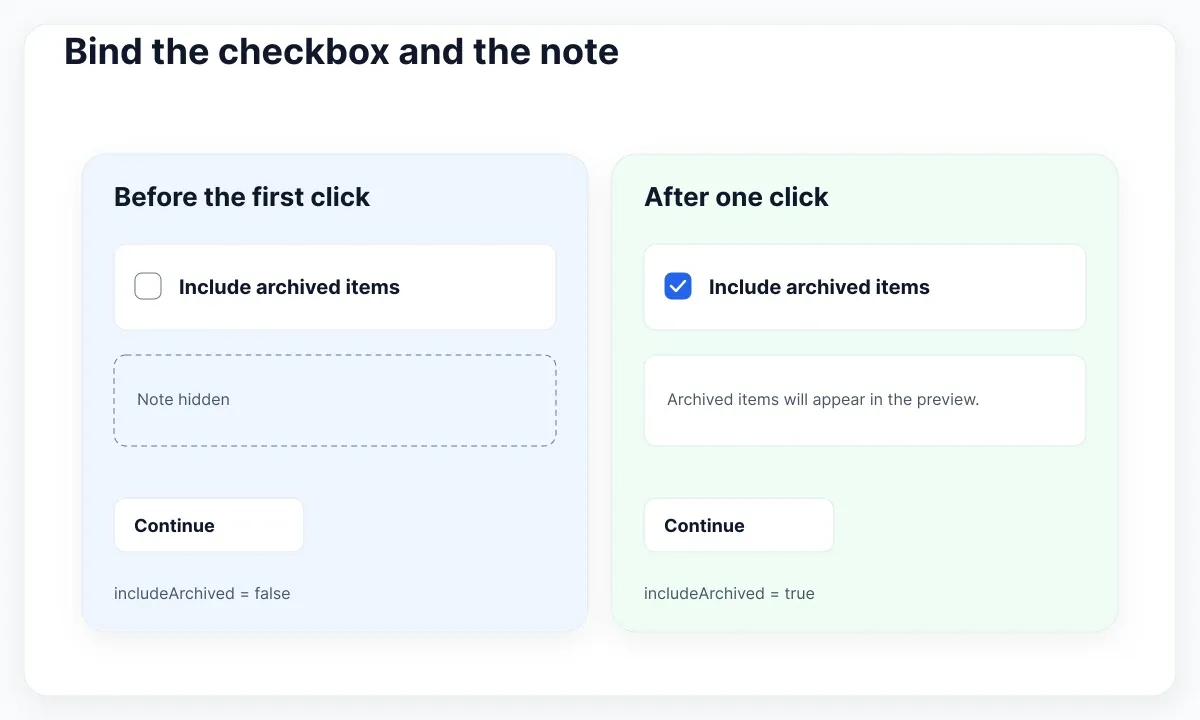
In Prototype, attach an On click or On tap interaction to the row. Add Set variable for includeArchived, using the expression includeArchived == false. Insert the variable through the expression picker so it resolves as a variable reference. Figma’s expression guide documents equality and Boolean results. With false as the current value, the expression yields true. The next time the row is activated, the same expression yields false. A literal true would work only in the first direction.
If the checkbox sits in Auto Layout, watch what the note does to the surrounding space in Present. A separate note row lets you judge whether revealing the text pushes Continue too far down on a short viewport. Test with a longer translated sentence as well. If the spacing changes in a way you did not intend, inspect whether you bound the wrapper or a child inside it. Keep the action reachable in both examples before asking someone to compare the choices.
A variable and a Boolean component property solve different problems. Figma’s component property guide shows how a property can expose the visibility of an optional layer, such as an icon. That is useful when a designer configures a single instance. Here the checkbox and the note need to follow a shared prototype value. A Boolean variant axis is another option if you already have a component set with compatible true and false values. Pick one mechanism to drive the checkmark in the exercise so you can tell which binding produced the visible result.
Branch when the user continues
Give Continue a Conditional action that checks includeArchived == true. Add Navigate to Preview all items in the true branch and Navigate to Preview current items in the other branch. Build each destination before connecting the button, and title them differently in the canvas so they are easy to find in the interaction editor. The Figma expression documentation explains how a Conditional action evaluates a Boolean condition.
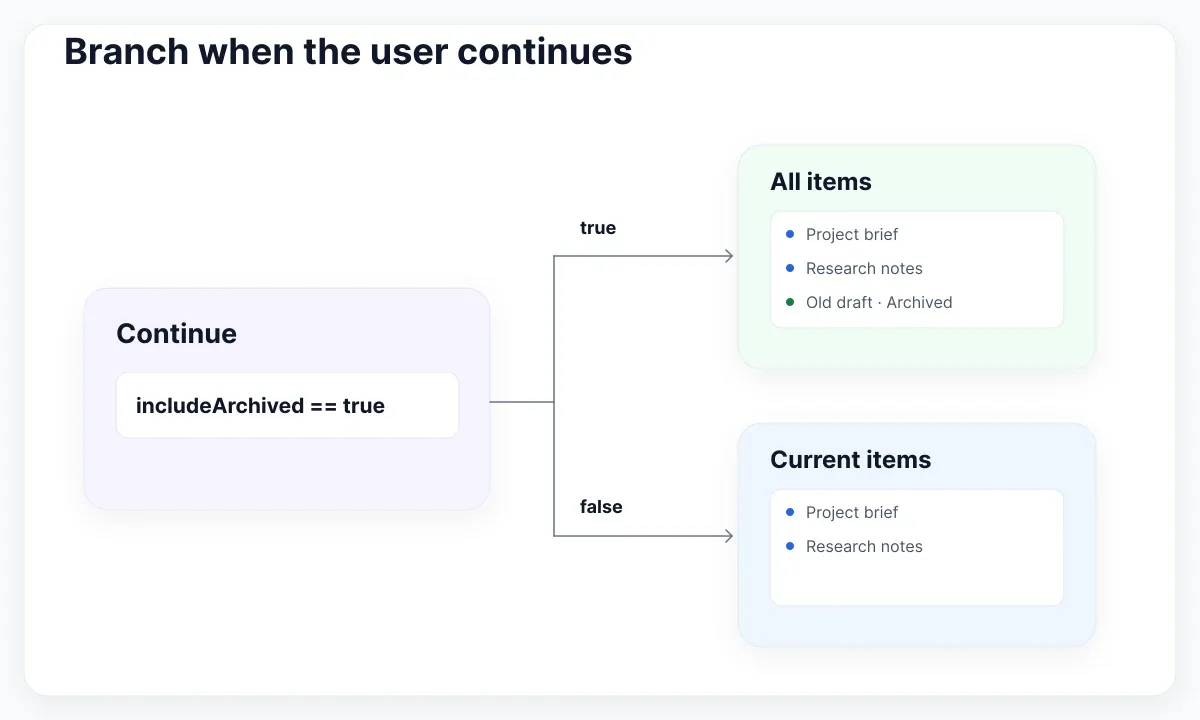
You can prove the branch and the visibility bindings independently. First start unchecked and press Continue without touching the checkbox. The current preview should appear. Next return to the settings frame, tick the checkbox and look for the note before pressing Continue. If the note changes but the wrong preview opens, inspect the Continue interaction and its targets. If the destination is correct but the note stays hidden, inspect the note layer. Those checks give you more information than rebuilding both screens.
In a real export, the selected scope might change a record count, processing time or who can see the output. For this exercise, show only the scope and sample records. A prototype branch can convey the intended rules, but it does not implement data filtering, permission checks or a file download. If the product team needs to verify those things, put them in the handoff as separate acceptance checks. Use the guide to interactive Figma flows for the basics of wiring destinations and these task-based prototype examples when you write a neutral prompt for a participant.
Test both paths from a known start
Create a dedicated Start frame for repeatable tests. Put a Begin button on it that sets includeArchived to false and then navigates to Settings. The two destinations can link back to Start with a Restart action for a clean trial. If you also add Back to Settings, leave that control free of reset actions when your intended behavior is to preserve the selection. Make the labels distinguish returning from starting over. Confirm the two actions in Present because the difference matters more than where the frames sit on the canvas.
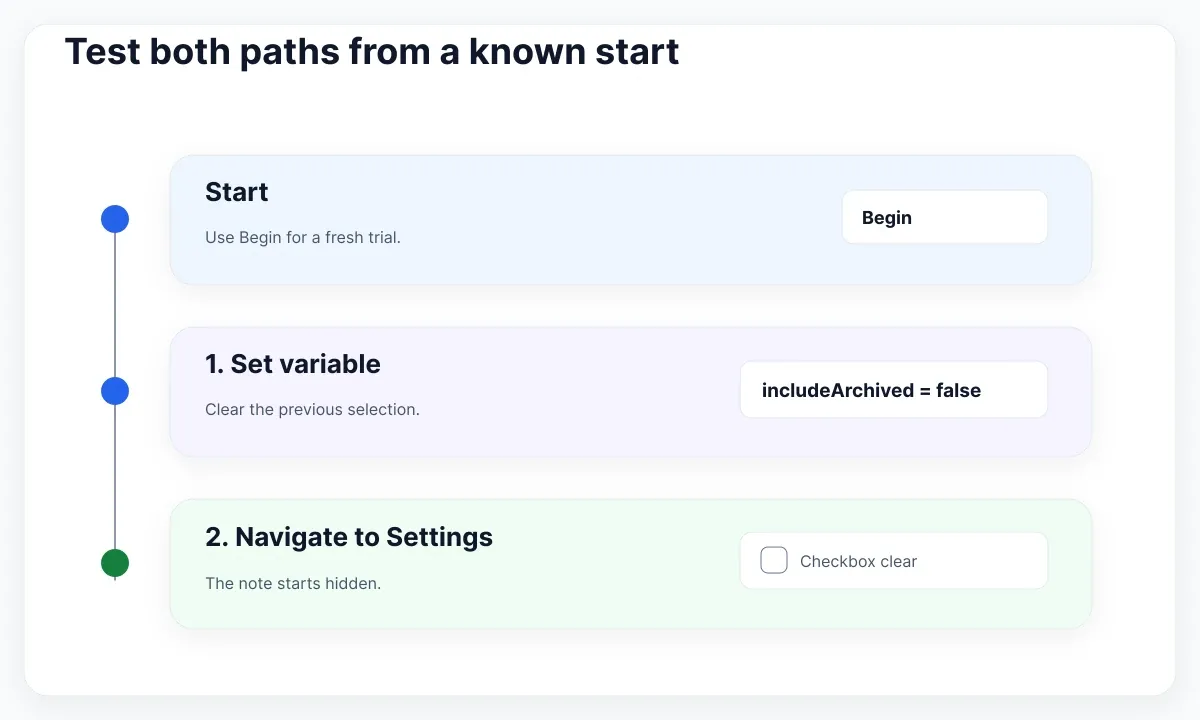
In the Begin interaction, list Set variable above Navigate to. Figma documents the execution order for actions on a single trigger. A useful fault test is to enter the expanded preview and take the ordinary Back path first. If that clears the checkbox, look for a reset on Back or an extra action attached to the settings frame. Then use Restart and Begin. If that path leaves the note showing, inspect which variable Begin writes and whether the note still points to it.
Run four sequences before a session. Begin and continue immediately: expect only current items. Begin, check once and continue: expect the note and both kinds of record. Begin, check twice and continue: expect the note to disappear and the current-only preview. Finally enter the expanded preview and start over: expect the empty checkbox and no note. Capture the state just before Continue as well as the destination. That evidence distinguishes a broken expression from a navigation target that was copied incorrectly.
| Trial | Before Continue | Expected preview |
|---|---|---|
| Begin only | Unchecked; note hidden | Two current rows |
| Check once | Checked; note visible | Two current rows plus one archived row |
| Check twice | Unchecked; note hidden | Two current rows |
| Restart from all items | Unchecked after Begin | Two current rows |
When a second checkbox unexpectedly changes, see whether it is bound to includeArchived too. Figma’s prototype guide explains that changes can affect multiple consumers of a value. Share a variable only when those consumers represent the same decision. An independent option such as Include comments deserves a separate variable and independent tests. Before adding it, ask whether the extra branch changes the research question. A test about archive scope can stay small and still reveal a misleading label or a preview that needs clearer grouping.
For a moderated test, ask, “Show me how you would preview both recent and archived records.” Observe whether the participant finds the option, what they expect the note to mean and whether the resulting list meets that expectation. On a separate run, ask for current items only and watch whether they can reverse a prior choice. Record their interpretation alongside the path taken. A correct click can still leave someone thinking the prototype already downloaded a file. Fix the language or confirmation before adding more interactions.
Reuse an EmviUI checkbox specimen
The EmviUI checkbox is a useful visual starting point for the settings row. Look at the contrast between an empty control and one with a checkmark, and keep the label aligned in both states. In the supplied specimen the text is sample content. Replace it with a phrase that names the option in your product and compare it at the width where your label wraps. Check the actual component properties before binding a variable: a kit may name its variant values differently from the true and false values in this exercise.
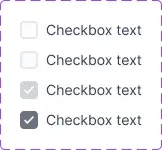
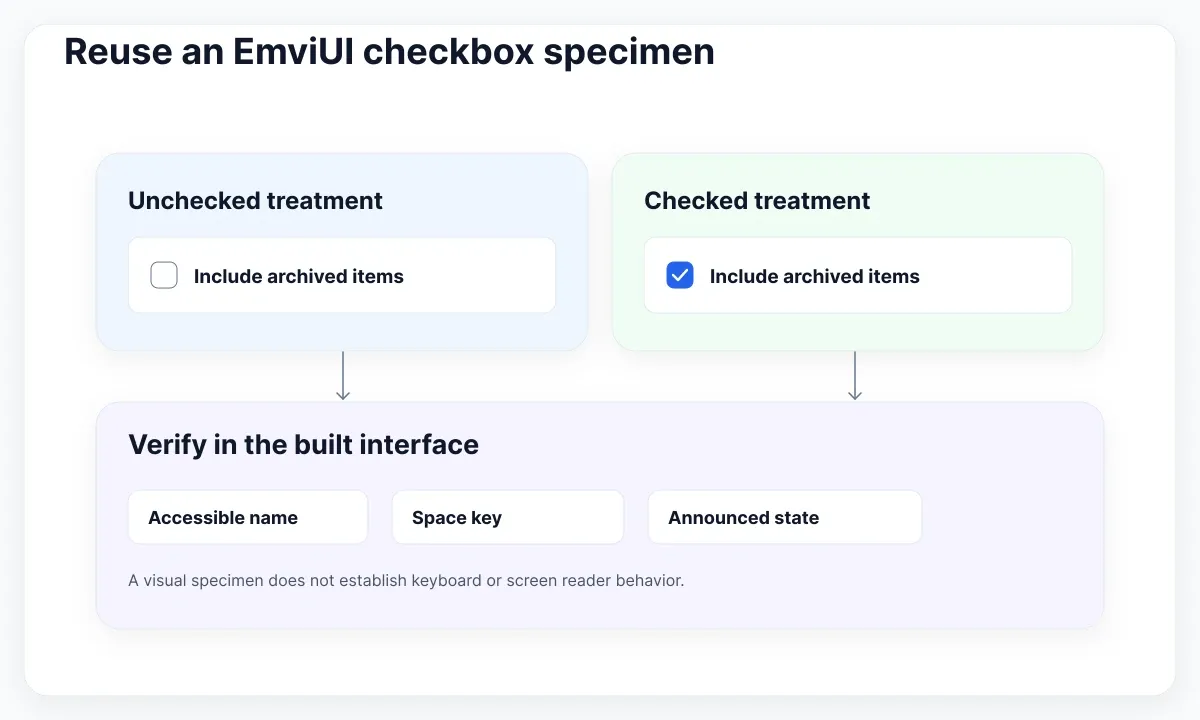
One way to adapt a kit is to copy the visible checked and unchecked treatments into a local experiment and apply the simple checkmark binding first. If the supplied control changes fill and border along with the mark, a two-state component set may be a closer fit. Test the binding on one instance before placing it in several frames. Leave the library source intact while you work out what is product logic and what is a reusable visual choice. For a separate example of shared text with an explicit owner, see the walkthrough on string variables.
During handoff, write the two outcomes in ordinary language. Share the starting state, the condition, the copy for the note, the expected preview rows and the intended Back behavior. Then hand the web team a separate check for real semantics. The WAI checkbox pattern describes how checkboxes communicate their state and respond to Space. Verify keyboard operation, focus and the accessible name in the implemented interface. A well drawn checkbox and a successful click in Present are useful evidence about the flow, but they do not demonstrate that a screen reader receives the state or that the selected data is correct.

Pablo Mayoral
Senior UX/UI & Web Designer with 10+ years of experience. Creator of EmviUI (10k+ components Figma design system), UImand, and Vitamin Bootstrap. Currently designing digital products at CQMRewards.