Figma AI: A Practical Workflow for UI Design
Figma AI can help you explore interface directions, refine existing work, and test interactions. Use the right tool for the job, provide real design context, and review every output before it becomes a product decision.
Figma AI is most useful as a fast design partner for bounded exploration and repetitive edits. Use the Figma Design agent to generate or refine canvas work, Figma Make to turn an idea or design into an interactive prototype, and focused AI tools for specific tasks such as replacing content or editing images. Give it named components, variables, layout rules, and a real user task; then check behavior, accessibility, content, and system fit yourself.
Figma AI is most useful when you give it a specific design task and keep a designer in charge of the result. Use the agent inside Figma Design to explore or refine canvas work, Figma Make to turn an idea or existing frame into an interactive prototype, and focused AI tools for a bounded edit such as replacing placeholder copy. Then test the output against real user needs, responsive behavior, accessibility, and your design system. The generated screen is a proposal, not proof that a product works.
Choose the Figma AI tool for the task
Start by deciding what you need to learn. If the question is “could this layout make the settings task easier?”, the agent in Figma Design can generate options, revise a selected frame, or give feedback in the design canvas. If the question is “does this flow make sense when I can actually click through it?”, Figma Make is the better surface for exploring a functional prototype. For a narrow production chore—finding a team asset, renaming layers, replacing placeholder content, or editing an image—use the focused tool that matches that operation. These are different jobs, even though they all appear under the Figma AI umbrella.
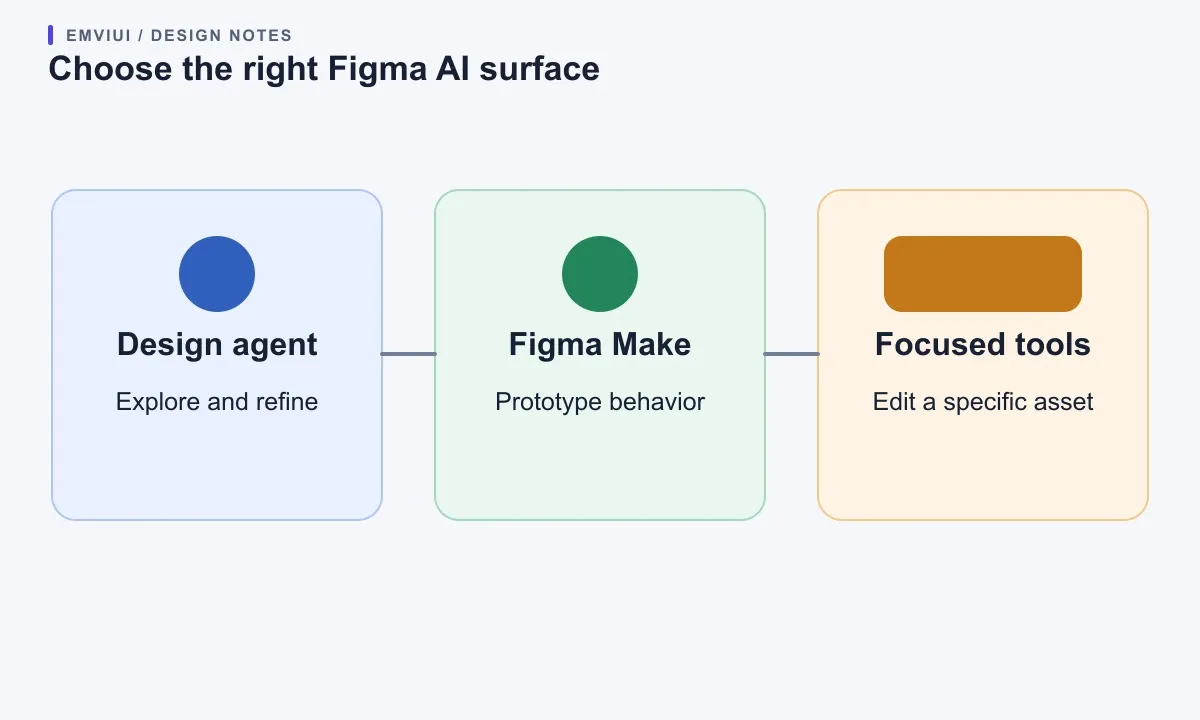
Figma’s current documentation groups the agent, Figma Make, and individual AI tools as distinct ways to work. It describes the agent as a conversational canvas collaborator for generating, editing, and getting feedback; Make as a way to build and refine interactive prototypes; and individual tools as focused capabilities. The agent is in open beta, with access and edit ability affected by seat, file permissions, team settings, and rollout. Before planning a workshop around it, check the account you will use and the current access notes in Figma’s agent access and seat guide.
Give Figma AI usable design-system context
Before prompting for a screen, make the source material understandable. Use descriptive names for frames, components, and layers; organize repeated controls into reusable blocks; and define the variables, styles, and component properties that express your product’s visual rules. Add Auto Layout where it communicates how content should grow or move. A selection called “Button / Primary / Medium” gives the agent a more meaningful reference than “Frame 47 copy 2.” Likewise, a named semantic color or text role communicates intent better than an unlabeled swatch.
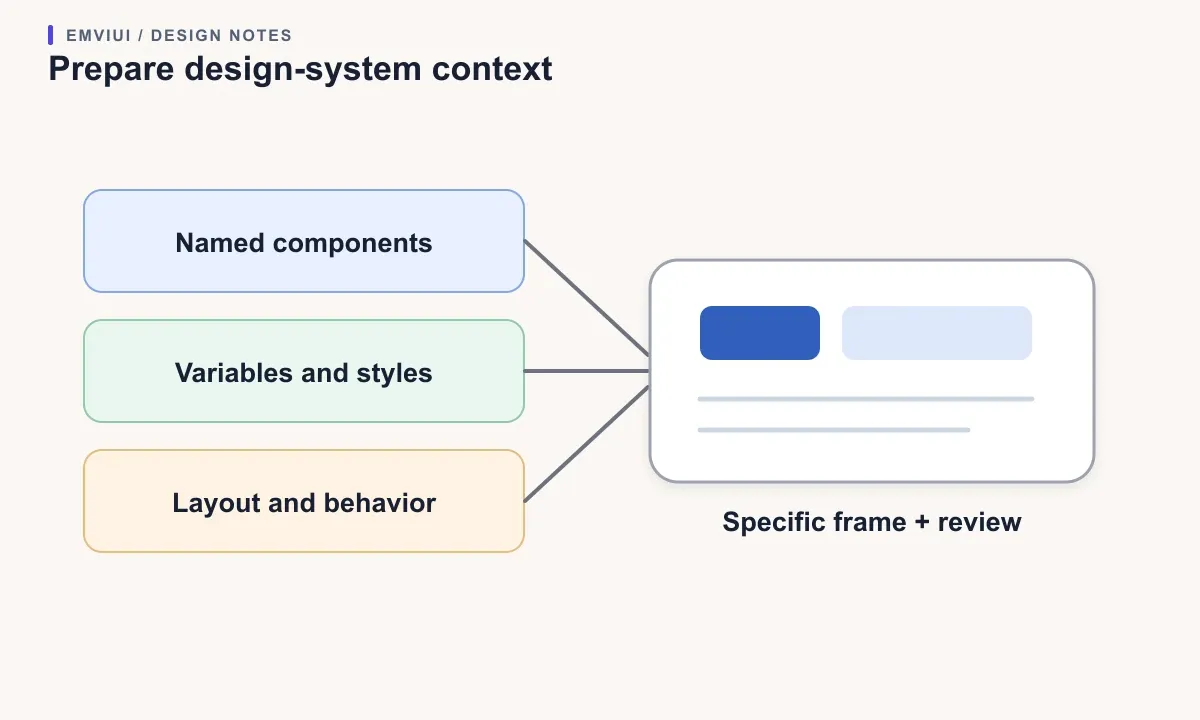
Figma’s official guidance says the agent can use a connected library and that a prompt can reference specific components, variables, and styles. Its design-system workflow recommendations emphasize reusable patterns, meaningful names, Auto Layout, component properties, variants, and variables. Treat those steps as preparation, not a promise of exact reuse: inspect which elements the generated frame actually references and correct any generic substitutes.
Scope the context to the task. For a new account form, connect or select the library that contains your field, label, helper-text, button, and error patterns. Describe which pieces are fixed by the system and where exploration is welcome—for example, “Use the existing field and button components; explore two ways to group the optional preferences.” Attach one representative screen instead of a large, unrelated file dump. If the design needs a product-specific data pattern, include a small realistic example. Context works best when it clarifies decisions rather than merely increasing the amount of material available.
Turn a prompt into a testable prototype
Write prompts like a compact design brief. Name the user, task, starting condition, content, constraints, and the decision you want to test. For example: “A support lead has opened a case and needs to assign it before responding. Keep the existing navigation and status styles. Show customer context, an assignee control, a visible priority, and a confirmation state. Explore one-column and two-column layouts; keep the empty state understandable.” This gives the agent a concrete problem and a handful of observable requirements.
Ask for one important change at a time. First generate the main hierarchy; next refine the form grouping; then request the interaction or error state you need to inspect. When you change several constraints in one prompt, it becomes harder to tell which instruction improved or damaged the result. For an early divergent phase, request two or three alternatives and compare them against the same task. Once you have chosen a direction, stop asking for open-ended variations and tell the tool precisely what to preserve.
In Figma Design, select the frame or layer that should change, open the agent, and describe the edit. The official guide supports adding context such as designs, images, files, and connected apps; you can also connect a library and refer to its assets. In Figma Make, use a design or prompt as a starting point, then test the prototype with meaningful content and actions. Figma’s web-search guide describes grounding supported workflows in public pages and documentation. When you use external reference material, identify what it should inform—such as product terminology or a known design-system rule—and verify its accuracy and rights before reuse.
Review generated UI like a real product
Review the result in layers. First check whether the screen supports the user’s task at all: is the main action obvious, is the order sensible, and is the decision information present? Next inspect component and visual consistency, then behavior, content, and edge cases. A coherent color palette cannot compensate for a missing confirmation or a destructive action with no recovery. Compare the output with the connected system and repair substitutions, altered tokens, or invented patterns before sharing it as a credible direction.
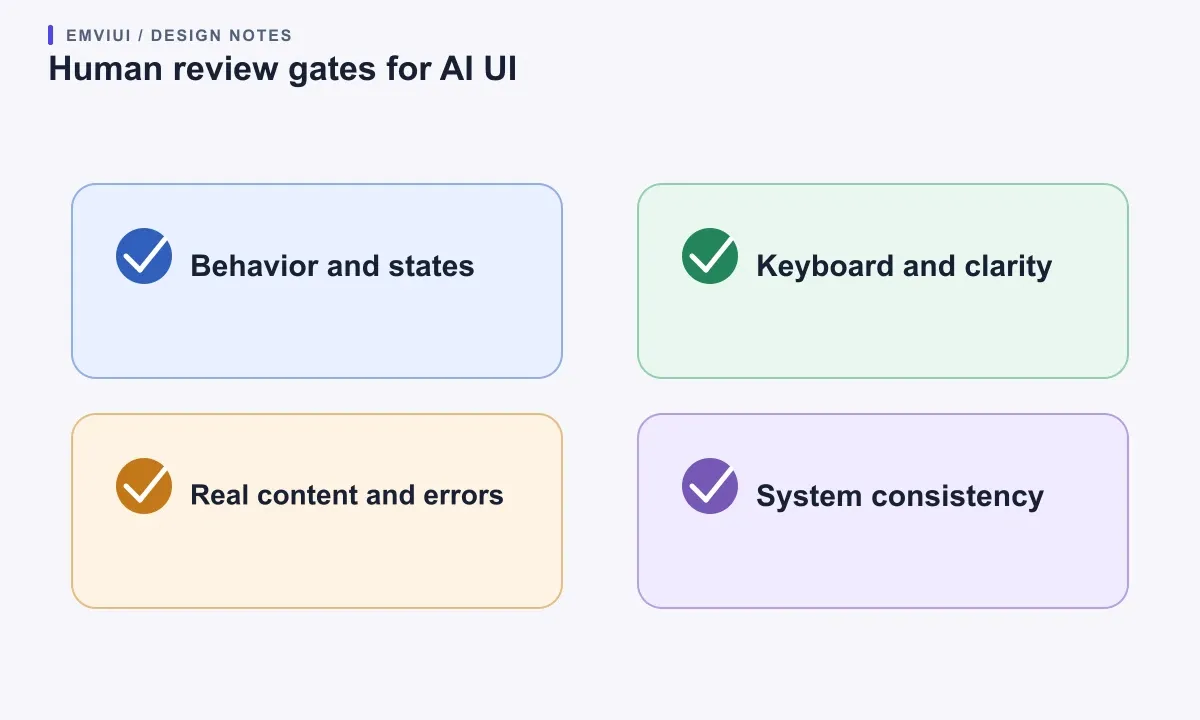
Figma explicitly cautions that AI outputs may be misleading or wrong and should be checked rather than treated as facts or expert advice. For a UI, that means checking more than factual statements. Test that controls do what their labels promise; focus and selected states are visible; keyboard flow follows the task; error messages identify the field and correction; and changing content does not break the layout. A prototype may show a click animation without modelling validation, network latency, permissions, or persistence. Label what the prototype simulates and what remains unimplemented.
Use realistic content before approving a layout. Swap short filler labels for longer translations, user names, currency amounts, and error messages that reflect the product. Check narrow and wide widths, larger text, empty data, loading, failure, and disabled states. If cards or navigation are generated, test them inside a complete screen rather than judging each in isolation. Include enough contrast and hierarchy to make state differences understandable without color alone. These checks often expose problems that a polished single screenshot hides.
Use Figma AI without losing control of content and policy
Before adding customer information or confidential plans to a workflow, check your organization’s rules and Figma’s current data settings. Figma documents team-level controls for AI access and notes that administrators can disable AI features. Access may also vary by plan, seat, file permission, and beta rollout. Those details change, so use the live Help Center and your admin settings rather than an old screenshot or a remembered credit allowance. This guide intentionally avoids promising a fixed number of prompts or a universal feature entitlement.
Keep prompts free of sensitive information unless your organization has approved the specific tool and data path. Use synthetic examples for early design work. If the task requires real support conversations or account data, first remove direct identifiers and use an approved, access-controlled process. Treat a web-sourced claim, generated text, or suggested interface pattern as unverified until someone checks it against the correct source. This is a practical quality rule as much as a privacy rule: incorrect policy copy or invented product behavior can travel quickly once it is copied into a shared component.
Set a review boundary for edits with broad impact. A request to rename layers or fill sample content may be easy to check. A request that restructures a shared library, updates many screens, or changes a design-system pattern needs a preview, owner review, and a way back. Connect only the library relevant to the task, make the target file clear, and have an owner approve changes to published resources. Use collaboration visibility intentionally: Figma’s agent documentation describes how chat visibility and file access work, including updated defaults for new chats. Team policies should match the actual settings rather than assumptions about who can see a conversation.
Where EmviUI fits in a Figma AI workflow
EmviUI can serve as a practical Figma reference when you need to explore a familiar interface pattern instead of asking AI to invent every control from scratch. Review the current EmviUI Figma UI kit and its published component examples, then bring only the relevant, licensed design resources into the file you are using. If your team has access to a library in Figma, its documented agent workflow can connect libraries so the agent can reference components, variables, and styles. Whether a particular EmviUI download is suitable for that workflow depends on the current files and how your team publishes them; verify the asset and license before use.
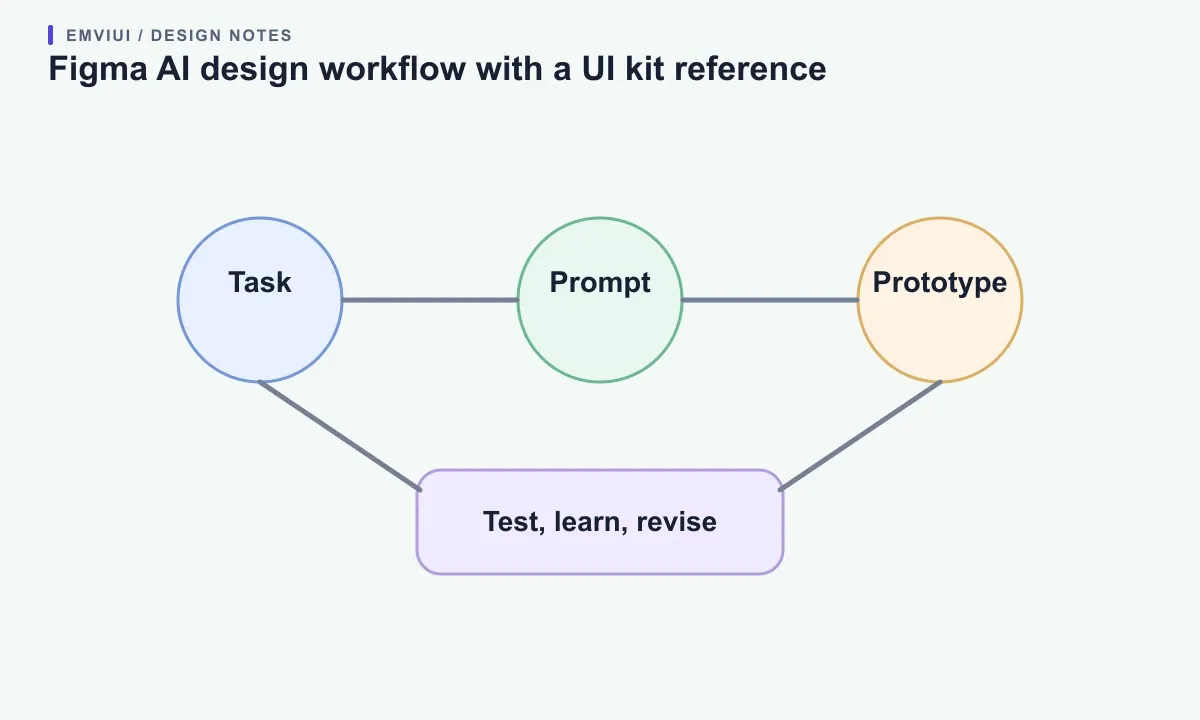
The useful connection is deliberate: choose a card, navigation, button, or form pattern from the kit as a starting reference; define which details must match your product; then let Figma AI explore the surrounding composition or content. Keep product-specific behavior in your own brief and test the outcome with your application’s data and states. EmviUI does not validate the prompt, guarantee that Figma AI will reuse a component, or replace accessibility and implementation review. It can make the design starting point more concrete, which is valuable when the question is about hierarchy or composition rather than raw visual invention.
If you are defining the reusable patterns before prompting, our guide to building a Figma UI kit around real product needs helps scope the library. For control behavior and component states, continue with our practical guide to Figma variants. These are supporting workflows, not claims that a UI kit is itself an AI model or that the resulting design is ready to ship.
Build a repeatable Figma AI practice
A repeatable workflow can be short: define a user task; select the Figma surface that can answer the question; connect a small, relevant set of design-system context; prompt for one bounded outcome; test the result with realistic content and states; and record the human decision. Save prompts that reliably express your product constraints, but keep them editable and review them as the system changes. A template should remind designers to name the user, action, constraints, and validation criteria—not prescribe a universal visual style.
Choose success measures that match the task. During ideation, count the number of meaningfully different directions worth discussing, not the number of generated screens. For a prototype, look for whether a participant can complete the key task and explain what happened. For busywork automation, compare the edited file against a small checklist for naming, structure, and content. If you cannot describe what improved, pause before adding AI to that part of the workflow.
Keep human review proportionate to risk. An illustrative placeholder may need a quick visual check; a payment confirmation, medical flow, permission screen, or shared design-system update needs careful review by the relevant product, design, and engineering owners. Use version history or duplicated frames to make experiments reversible. When the team learns that a prompt repeatedly produces an inaccessible pattern or a misleading state, update the reusable guidance instead of relying on each designer to notice the same issue again.
Primary documentation and related guides
For current capabilities and access, start with Figma’s Figma AI overview, guide to working with the design agent, and AI tools and review considerations. For system context, see Figma’s design-system workflow guidance and Make kits. Access, plan details, beta status, and individual features can change; verify them in the live documentation before making team commitments.

Pablo Mayoral
Senior UX/UI & Web Designer with 10+ years of experience. Creator of EmviUI (10k+ components Figma design system), UImand, and Vitamin Bootstrap. Currently designing digital products at CQMRewards.