Difference Between Figma and Photoshop: What to Use
A practical comparison of Figma Design and Photoshop for screens, image editing, prototypes, and delivery.
Use Figma Design for reusable screens, states, prototypes, and developer inspection. Use Photoshop for detailed photographic editing and layered image masters. Combine them when a product interface needs a carefully edited image.
The difference between Figma and Photoshop is the job each document is built to support. Use Figma Design when the deliverable is a screen, reusable interface, or clickable product flow that teammates must inspect and revise together. Use Photoshop when the deliverable depends on detailed changes to a photograph or other pixel-based artwork. They overlap: Figma can crop and adjust placed images, while Photoshop has artboards for multiple screen layouts. The better choice follows the work you need to repeat, review, and hand off, rather than a claim that either app can do only one thing.
Core difference: interface system versus image document
Imagine a sign-up page with desktop and mobile layouts, error messages, and a reusable button. The main problem is the relationship among screens and states. Figma's design workflow includes prototypes and developer inspection. Photoshop can show layouts on artboards, but an interface system is the practical starting point when a team repeatedly changes controls, spacing, and flows.
This comparison is about Figma Design and Adobe Photoshop, as documented in their current help pages. Figma describes Design as a place to create, share, and test websites and app experiences, with Dev Mode for handoff; Adobe documents artboards, layered files, and masks in Photoshop. The conclusions below are workflow recommendations based on those features, not claims about every possible plugin, edition, or future release. Start with the official Figma product overview and Photoshop artboard guide if your team needs to verify the scope.
Now imagine the same page needs a campaign photograph with an unwanted object, a precise cutout, and color work confined to part of the image. Those are image-editing decisions. Photoshop's layer masks can reveal or conceal selected areas, and its layered PSD format preserves edits. Figma can place an image, crop it, and adjust exposure or contrast, but its help page describes the image as a fill applied to an object. For detailed photographic corrections, prepare the image in Photoshop, then place the approved export in the Figma screen. This is a recommendation about the workflow, supported by the Figma image-properties documentation, Adobe mask instructions, and Adobe file-format guide.
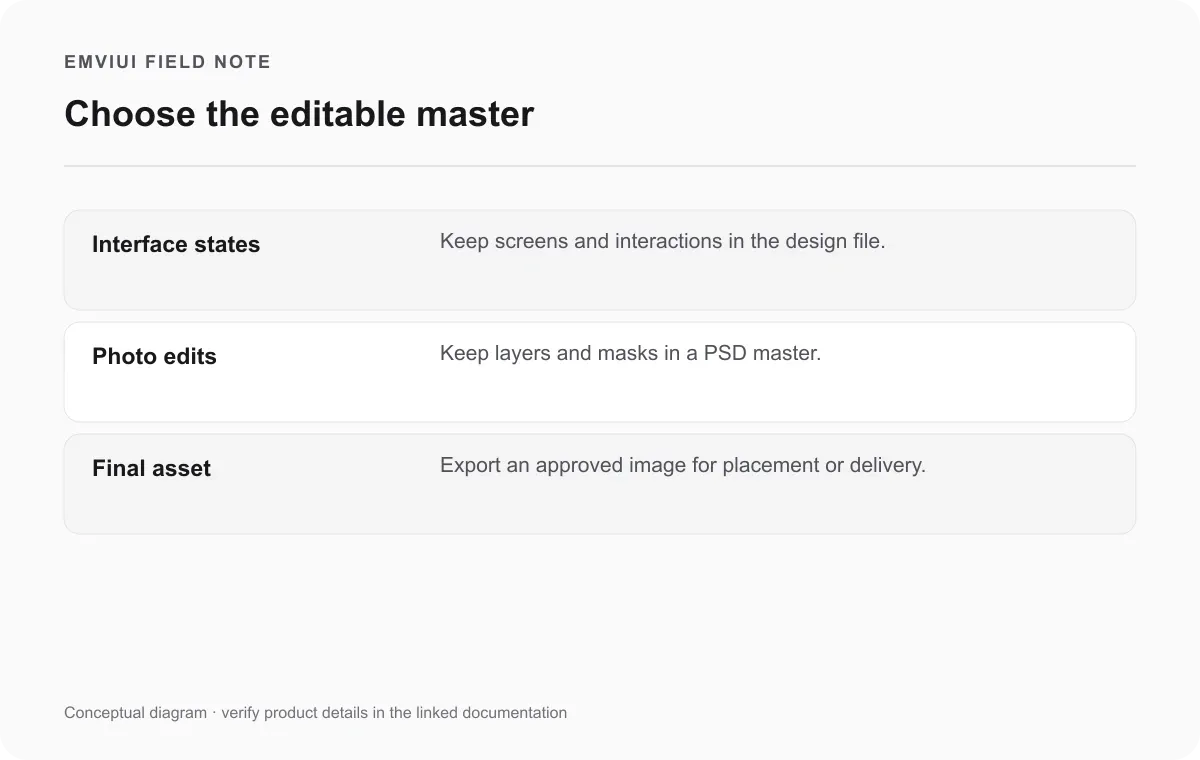
The useful distinction is the source of truth. For interface decisions, keep the editable screen and its states in the Figma design file. For photographic edits, keep the layered image master in Photoshop. An exported PNG or JPEG is a delivery asset; it does not replace the editable source. Making that ownership explicit prevents a common handoff problem: a teammate receives a flattened image and must guess how it was made.
Designing screens and reusable UI
Figma Design is described by Figma as a tool to create, share, and test designs for digital products. Its product overview also describes scalable design systems and real-time team collaboration. In a UI project, that means the screen file can be the place where the team reviews a component, tests a flow, and points developers to the intended design. Our recommendation is to name frames by state and breakpoint, keep repeated interface elements consistent, and document any deliberate exception. This turns the design from a static picture into a set of decisions someone else can implement.
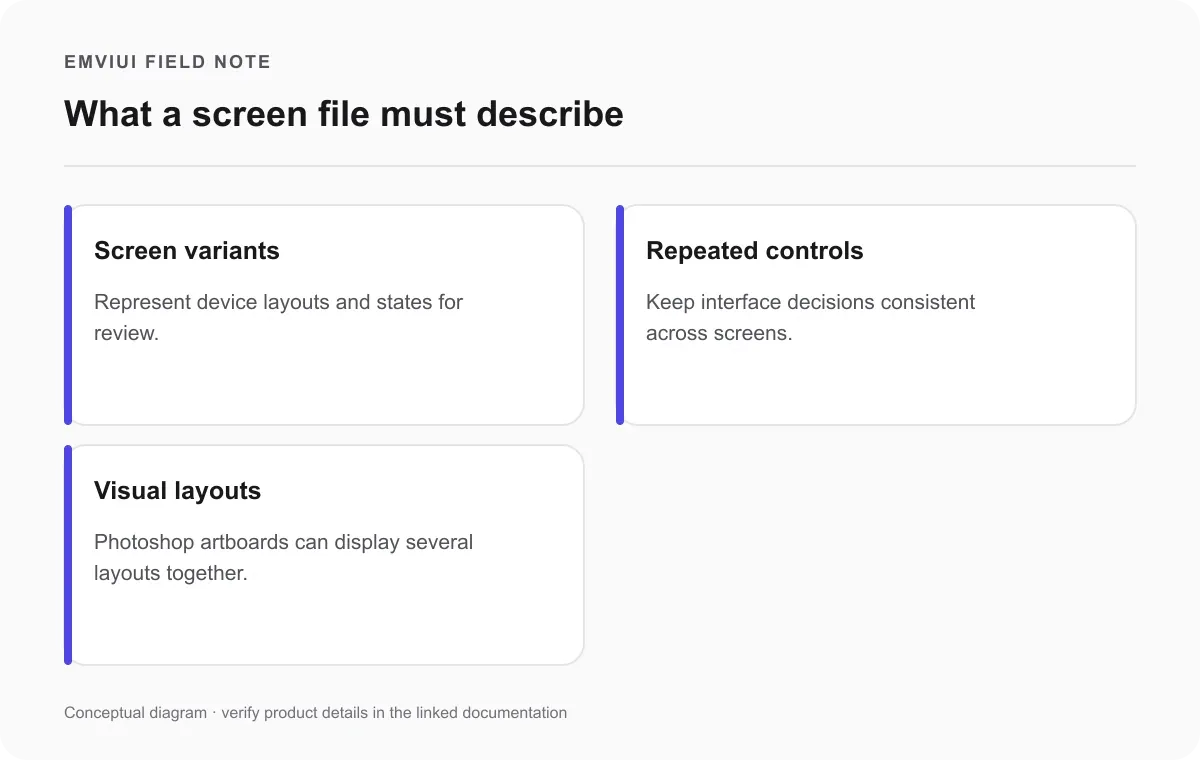
Photoshop should not be dismissed as unable to show screens. Adobe's artboard documentation says artboards can hold layers and layer groups and display layouts for different devices in one document. That is sufficient for many visual explorations, especially when the screen is dominated by photographic composition. The tradeoff is practical: if the review revolves around repeatable controls, navigation states, and clickable journeys, use the Figma workflow documented for digital product design. If the review revolves around the treatment of one hero image, edit that image in Photoshop and bring its result into the interface file.
If you are starting from an empty canvas, our responsive web-design walkthrough shows how to structure desktop and mobile content. For a clickable journey, the Figma prototype guide explains what a prototype can validate before code exists. Those are next steps after choosing the UI workflow, rather than substitutes for editing source photographs.
Editing photographs and placed images
Figma's image controls are genuinely useful for layout work. Its documentation lists Fill, Fit, Crop, and Tile modes, and adjustment sliders for properties such as exposure, contrast, saturation, temperature, highlights, and shadows. Cropping is described as reversible. Those controls let a designer make a placed photograph fit a card, hero, or avatar without leaving the interface file. If the only question is whether a portrait crops well at two widths, staying in Figma is efficient.
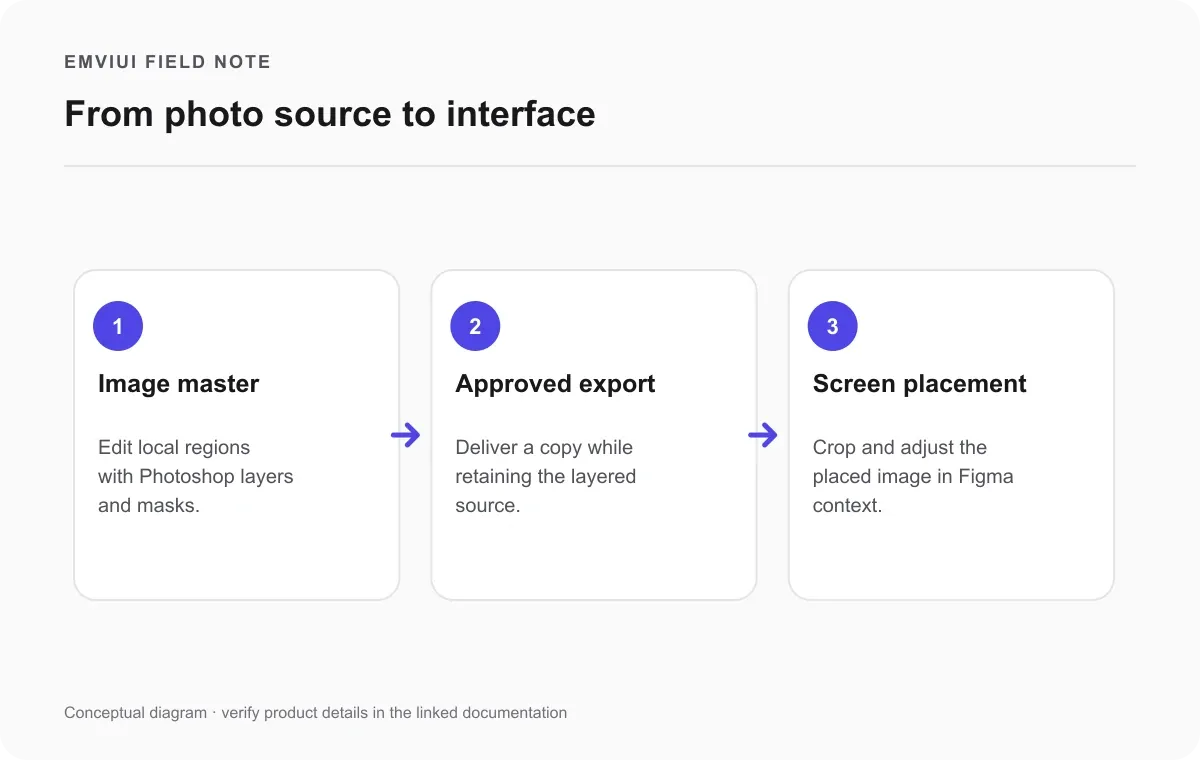
The scope changes when the pixels themselves are the subject. Adobe documents masks that show or hide parts of a layer and can be edited with painting or selections. That gives a controlled way to isolate a subject or adjustment. Adobe also explains that a PSD can keep layers, effects, and masks intact. From those documented capabilities, our recommendation is to do object cleanup, detailed compositing, and local image corrections in Photoshop, then export a version for the interface. This is not a claim that Figma lacks every image feature; it is a choice of editable master for a more demanding image task.
Consider a product card showing a model against a busy background. First decide the card dimensions in Figma. Next edit a separate high-resolution source in Photoshop, with a mask that can be revised when the art direction changes. Export the approved image and place it in the Figma card. Then check the crop in the actual component at desktop and mobile sizes. If the crop fails, revise the placement in Figma; if the subject edge or color needs work, revise the Photoshop master. The two files answer different questions and should be named so reviewers know which is authoritative.
Prototyping and developer handoff
Figma's overview places prototyping and testing inside Figma Design and describes Dev Mode as a way to carry design information toward code. Its export guide explains that a designer can export frames, components, layers, or selected regions. Those facts support a practical handoff: send the design file so a developer can inspect the current layout and interactions, and export only assets the implementation actually needs. A screenshot alone loses the structure and intent of the screen.
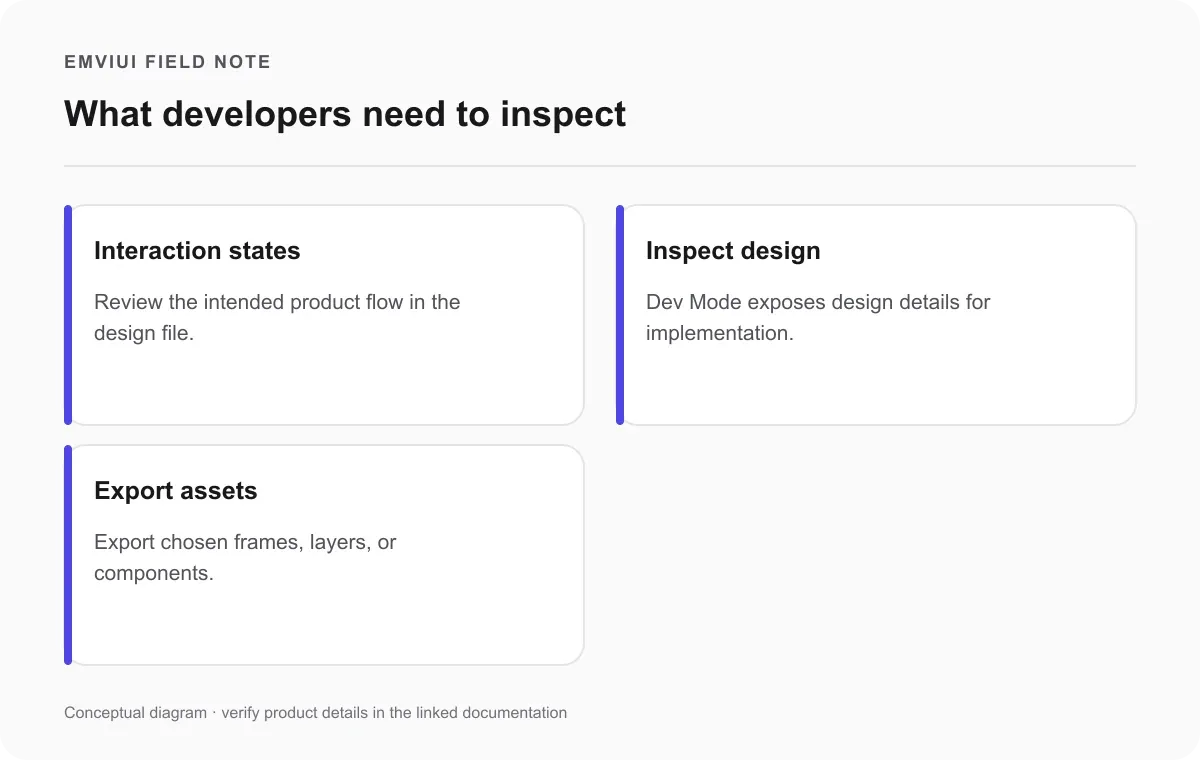
Photoshop artboards can communicate alternative layouts, but the cited Adobe documentation describes them as groups of layers clipped to artboard boundaries. It does not establish an equivalent interactive product-flow or developer inspection process. If a team already uses Photoshop for a visual comp, it can still deliver that comp and a written specification. Our recommendation is to create the actual interaction model in the product-design workflow, where the reviewer can move through the intended states. The distinction is about what the cited workflows demonstrate, not an absolute impossibility in Photoshop or its wider ecosystem.
For a handoff, write down what changes on submit, on error, and on success. Name the states in the design file, show the responsive variants, and identify the approved image asset. Ask the developer to compare the implemented behavior with those states, not only with one attractive frame. The prototype explainer is useful if stakeholders confuse a clickable demonstration with a working application. A prototype can expose a confusing journey; it does not implement server validation or business logic.
Files, exports, and a two-tool workflow
The format of the editable master affects every future revision. Adobe's format overview recommends PSD when layers, effects, and masks need to remain intact. Figma's export instructions distinguish exported content from the design file and describe exports of frames, layers, components, slices, and the complete file. This gives the team a simple rule: archive the editable master for each discipline, then publish a lightweight asset or specification suited to the destination. Do not ask a developer to rebuild the design from a flattened export when the source file can be shared.
| Decision | Start in Figma Design | Start in Photoshop |
|---|---|---|
| Main deliverable | UI screen, reusable pattern, product flow | Retouched photograph or pixel-based composition |
| Useful editable master | Design file with screens and states | Layered PSD with masks and adjustments |
| Screen alternatives | Review frames and prototypes in the design workflow | Use artboards for side-by-side layouts |
| Placed image work | Crop and adjust the image fill in context | Make detailed local changes to the image source |
| Delivery | Share design context; export selected assets | Keep PSD; export the approved image for placement |
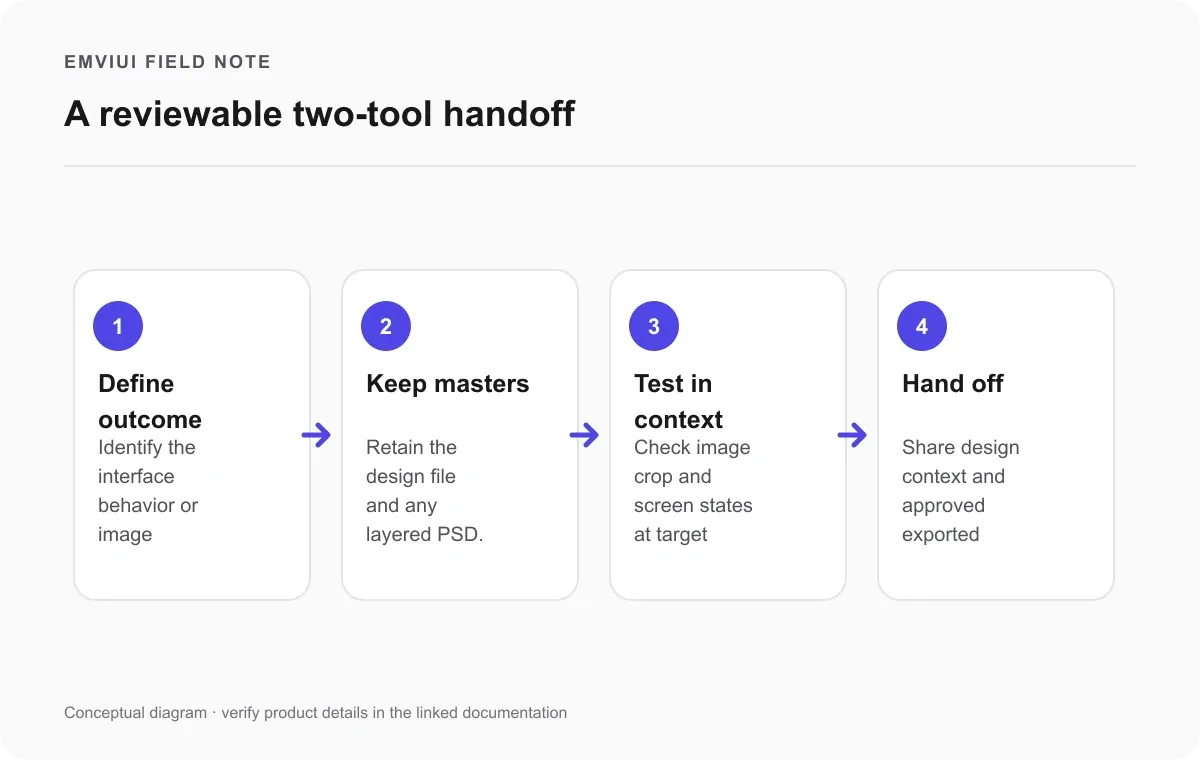
- Define the deliverable. Is the reviewer approving an interface behavior or an image treatment? Write that in one sentence.
- Choose the editable master. Use Figma for the UI model; retain Photoshop for layered photo work.
- Prepare the image separately when needed. Preserve the source and masks, export an approved asset, and label its version.
- Place and test in context. Check crops, contrast, and copy at the actual screen sizes in the interface file.
- Hand off both context and assets. Provide the design file, interaction notes, and only the approved exported media.
This order keeps teams from polishing a photo at the wrong aspect ratio or building a page around an image that cannot be licensed or exported at sufficient resolution. It also makes changes traceable: an interface revision belongs in the UI file; a retouch belongs in the image master. If a designer owns both, the same rule still saves time.
Which should you choose for your project?
Choose Figma Design first for a website or app interface that needs multiple states, shared review, prototyping, and developer inspection. Choose Photoshop first for a photograph, composite, or campaign visual that needs precise local editing. Use both when a product page needs a carefully prepared image inside a reusable interface. This recommendation follows the official feature documentation cited above and should be tested against your team's actual deliverable, collaborators, and asset requirements. It is not a claim that one subscription, plan, or export format is universally cheaper; those change and are outside this comparison.
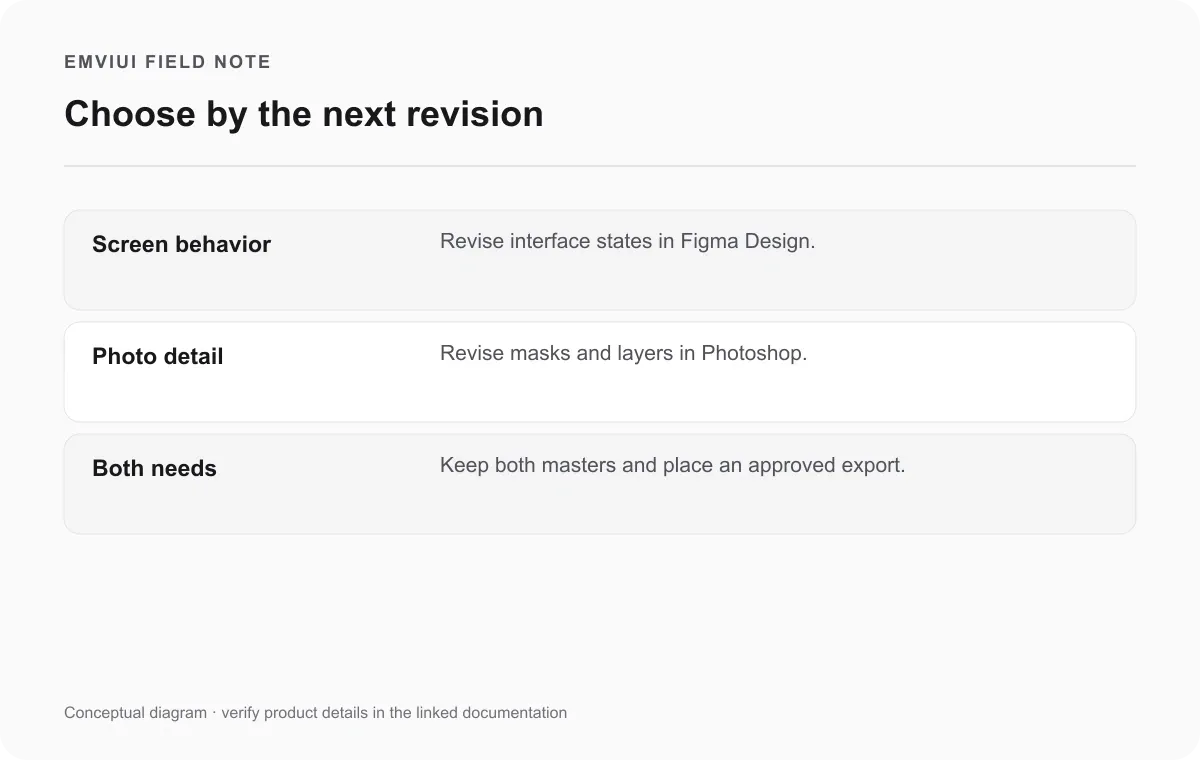
For a small visual task, avoid a needless transfer. A simple crop and exposure adjustment can stay in Figma. For a complex image, keep the PSD even if the final asset is only a JPEG or PNG. For a logo made of shapes rather than a photograph, the Figma logo workflow discusses a separate vector-oriented decision. The best test is concrete: name the next likely revision and check whether the file you plan to keep lets the right person make it safely.

Pablo Mayoral
Senior UX/UI & Web Designer with 10+ years of experience. Creator of EmviUI (10k+ components Figma design system), UImand, and Vitamin Bootstrap. Currently designing digital products at CQMRewards.